Posted on Leave a comment

CNC Router Project – Ski Hanger

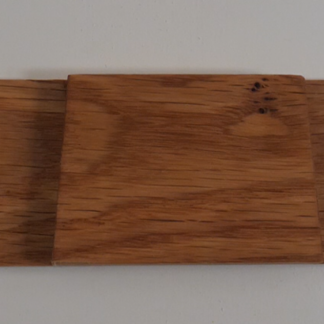
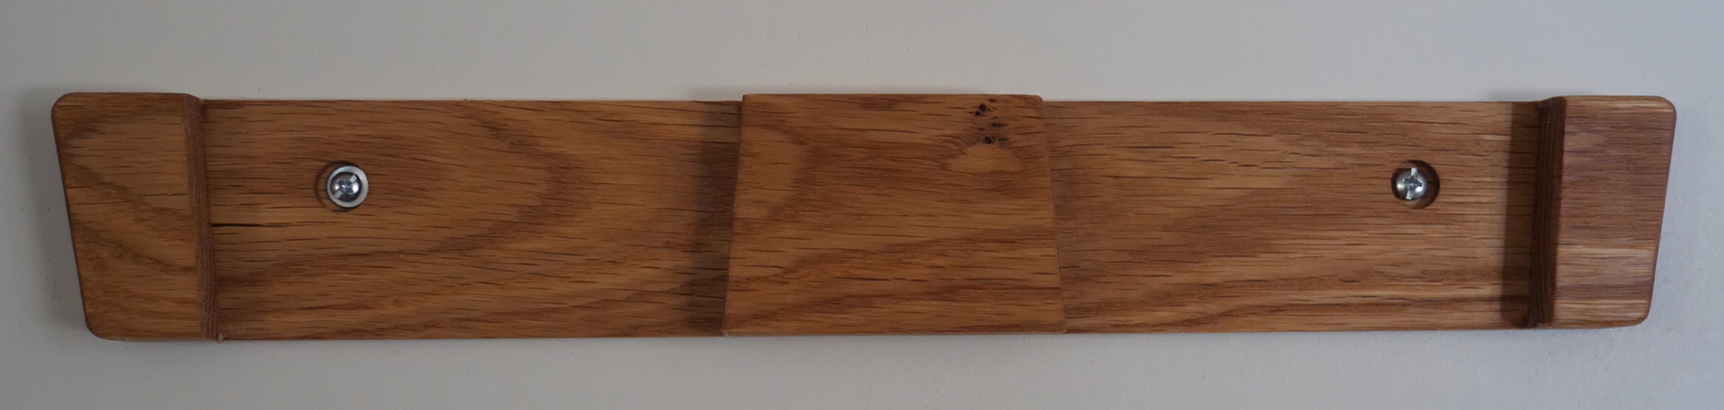
Over the past couple years, I have made several sets of downhill skis. To display and store them, I wanted a way to hang them on a wall with the topsheets visible. The design I came up with is a simple piece of hardwood milled to shape with a CNC router. It has an angled design for aesthetics, and two pockets which taper from top to bottom. This taper allows the ski to wedge into the hanger at a point where the width of the ski is increasing toward the tip, and corresponding to the width of the machined pocket.

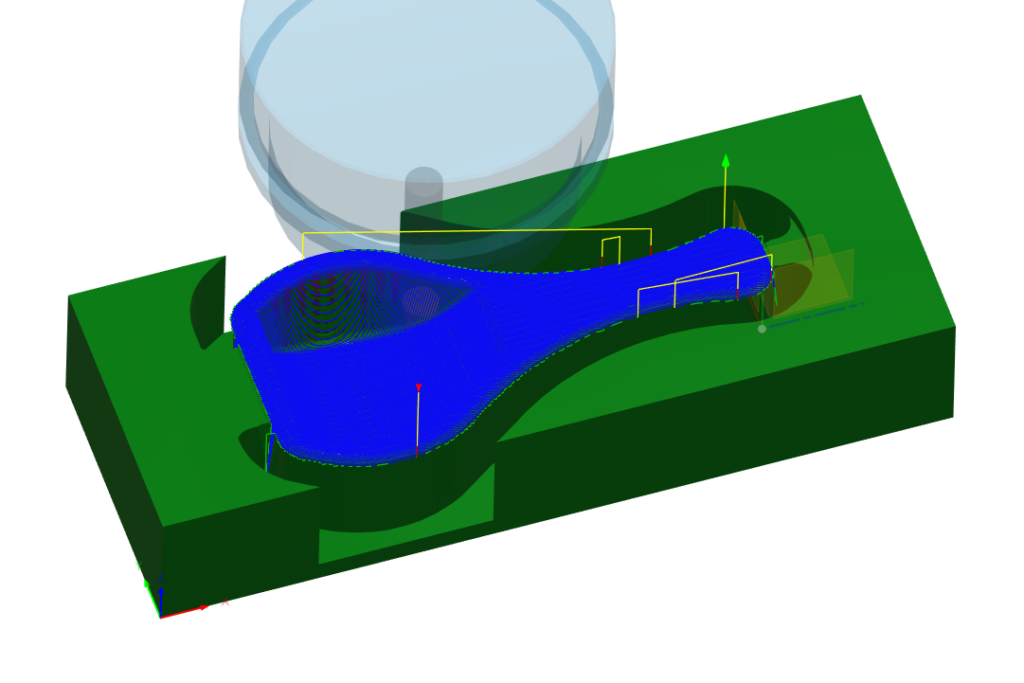
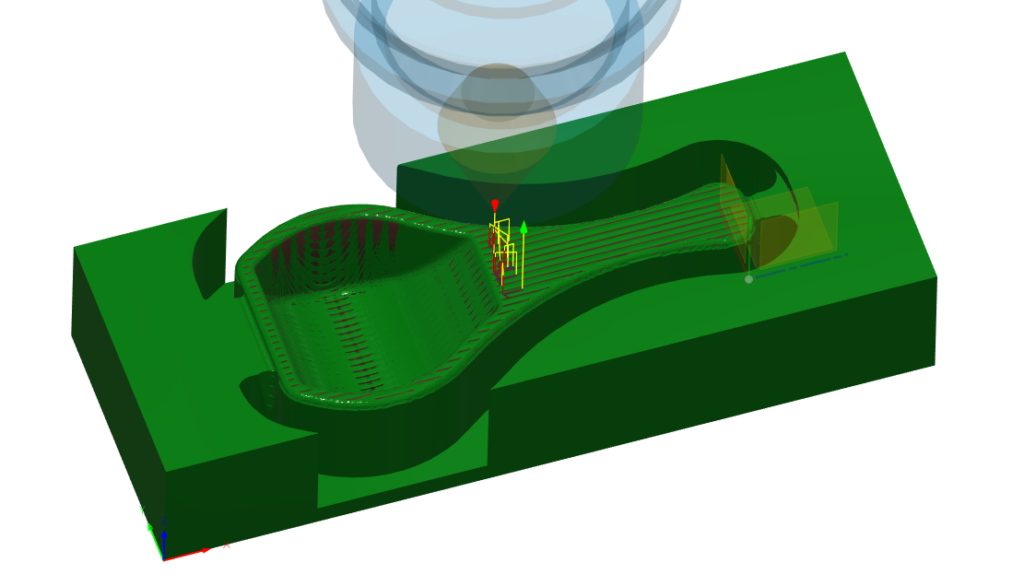
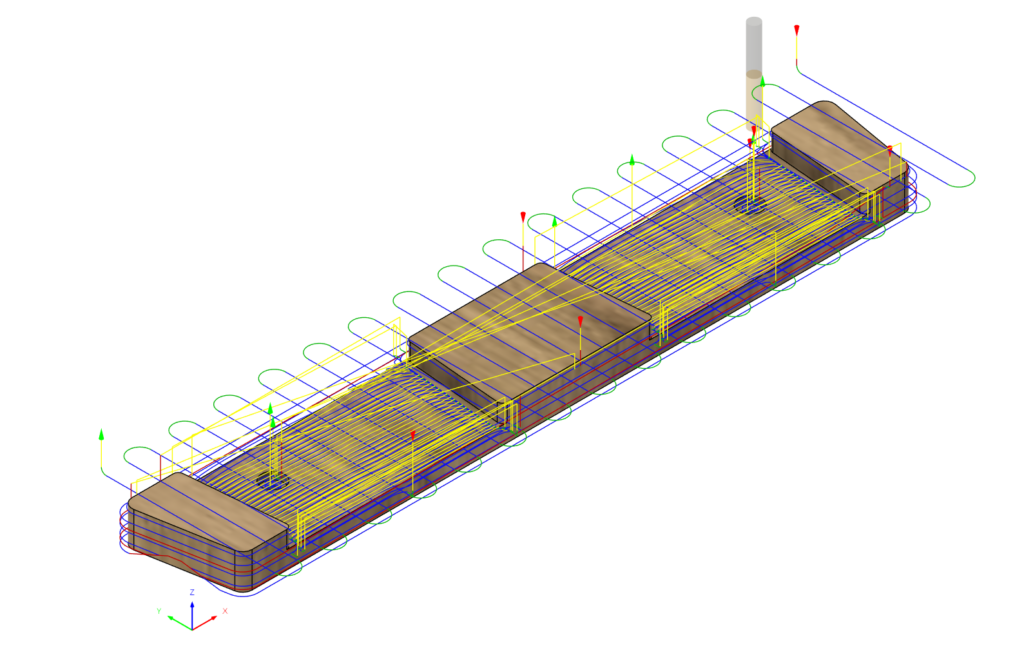
The actual machining process for this part is quite simple, with just one setup and no need to flip the part. It can even be accomplished with a single tool by skipping the facing and chamfer operations.

The hangers are mounted to the wall with 2 screws in drywall anchors.

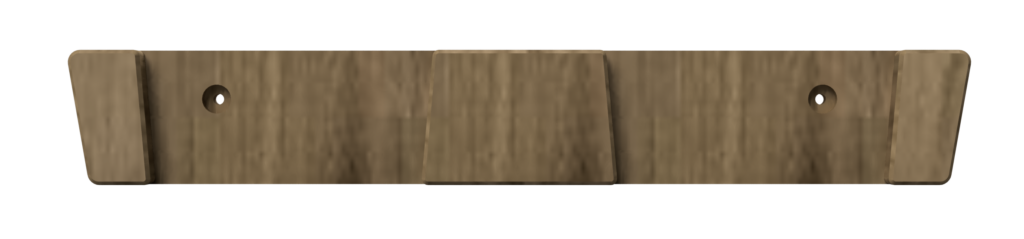
If you would like to make one yourself, get the download below for the Fusion file. This includes the parametric 3D model, as well as the programmed toolpaths and CNC setup.

Posted on Leave a comment

CNC Carved Wooden Coffee Scoop

This little spoon was a quick design I did as a demonstration of the capabilities of the CNC router at Lansing Makers Network, where I was a member at the time. It was intended to be a relatively quick demonstration of 3D, 2-sided carving which I could repeat several times throughout an event we were hosting. Each one took around half an hour. I think I ultimately made 5 spoons and sold 2 at the event as a fundraiser, then gave away the rest at a later date.

If you want to make your own, I’ve made the Fusion design and CAM setups available for free download in my store. Here is the link.


CAD

The design itself was a fairly simple one in Fusion. It is extruded from one sketch, then cut by another sketch drawn from the side. The most difficult part was then modeling the recessed portion of the scoop. I started with an offset surface, then turned that into a body that represented the negative space. I could see the properties of the body to confirm that it was close to the volume (1tbsp) that I was trying to acheive, then use a combine feature to subtract it from the main body.

I also modeled some tabs which will hold the spoon in place during the machining operations.


CAM

My strategy for machining these was to use a temporary MDF jig to position and hold the stock material. I bored holes in each stock blank, then a matching set in the piece of MDF. This allowed me to quickly clamp down each piece in the same place, and to easily flip the stock for 2-sided machining. The order of operations was:

Roughing

3D Pocket toolpath

1/4in 2F up-cut carbide end mill

18000rpm 150in/min

0.01in stock to leave

Machining boundary set to limit cutting area

    Finishing

    3D Parallel toolpath

    R1/32in 5deg Tapered Ball Nose

    18000rpm 40in/min

    0.009in stepover

    Engraving

    Engrave toolpath

    45deg V-bit

    18000rpm 40in/min

    Once the first side is complete, the stock is removed, flipped, and placed back on the same dowels. The CAM setup for the second side was almost the same, without the engrave toolpath. Then it was a matter of cutting off the remaining stock and sanding down the tabs. I did a quick hand sanding and oiled with a food safe mineral oil.